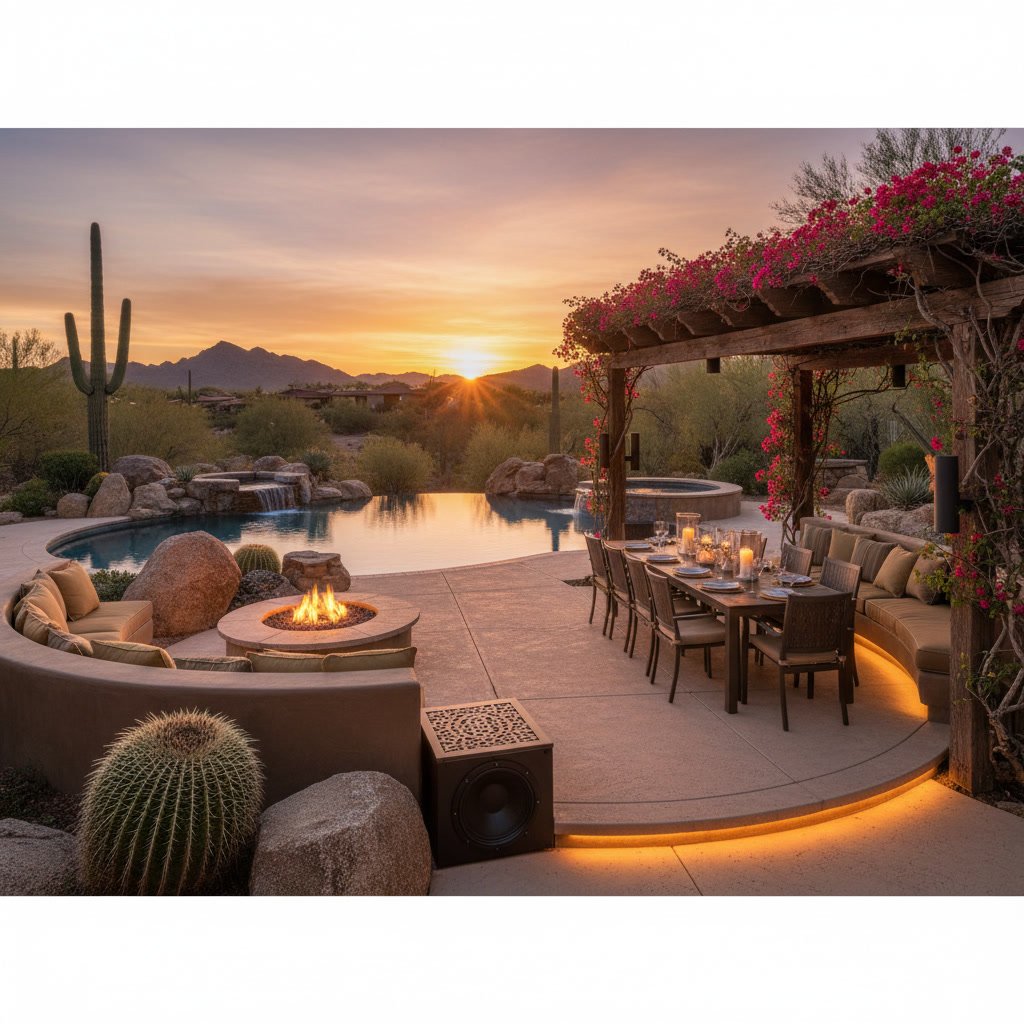
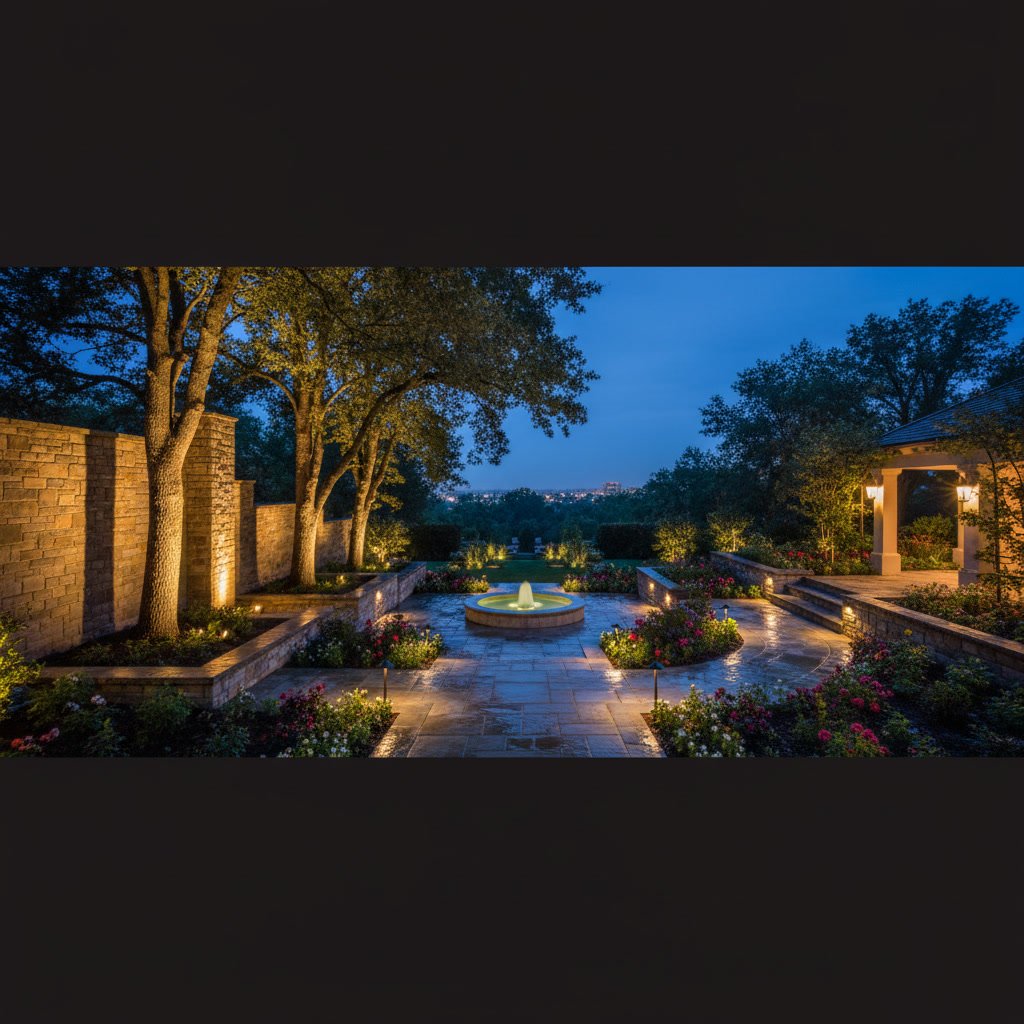
When comparing uplighting vs downlighting landscape techniques, uplighting directs beams upward to accent trees, walls, or architectural features, while downlighting mimics natural moonlight by casting light downward from elevated fixtures. Path lighting sits low to the ground, illuminating walkways and borders for safety and navigation. Each method creates a different visual effect, and professional designers often combine all three to achieve balanced, layered outdoor illumination.
Landscape lighting transforms outdoor spaces from flat, lifeless yards into dramatic evening showcases. The right combination of techniques highlights your property’s best features while ensuring guests can move safely through pathways and gathering areas after dark.
Why Lighting Direction Matters in Landscape Design
The angle and direction of your outdoor lights determine which features stand out and how your property feels at night. Lighting cast upward creates drama and draws the eye to focal points like specimen trees or stone facades. Light directed downward provides functional visibility for decks, patios, and walkways while creating soft pools of illumination.
Without intentional direction, outdoor lighting becomes a random collection of bright spots that fail to work together. A well-designed system uses varied angles to add depth, prevent harsh shadows, and guide attention exactly where you want it.
How Uplighting Creates Drama and Focal Points
Uplighting places fixtures at ground level, aiming beams upward to wash light across vertical surfaces. This technique works exceptionally well for highlighting tall elements like mature sycamores, stone chimneys, or the textured bark of ironwood trees common in the region.
The effect is inherently dramatic because it reverses the natural direction of sunlight and moonlight. Shadows cast upward appear larger and more striking, which is why uplighting is the go-to choice for creating visual impact on architectural details and specimen plantings.
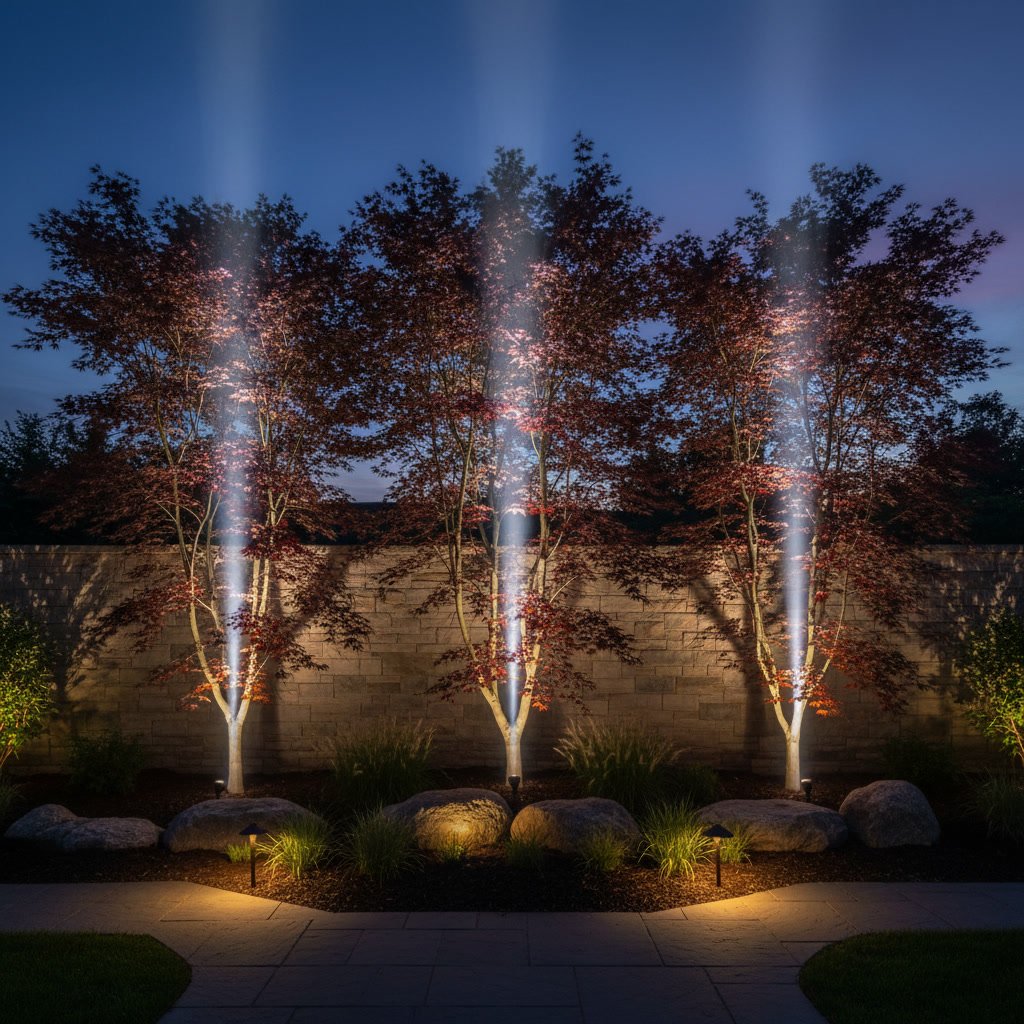
Professional installers position uplights 12 to 24 inches from the base of the feature being lit, adjusting the distance based on the desired coverage area. Narrow beam angles create concentrated spotlighting, while wider floods produce softer washes of light across broader surfaces.
When Downlighting Works Best
Downlighting mounts fixtures above eye level on structures, trees, or posts, directing light downward to mimic the way natural light falls during the day. This approach provides functional illumination for outdoor living areas, dining spaces, and pathways while maintaining a softer, more organic feel than uplighting.
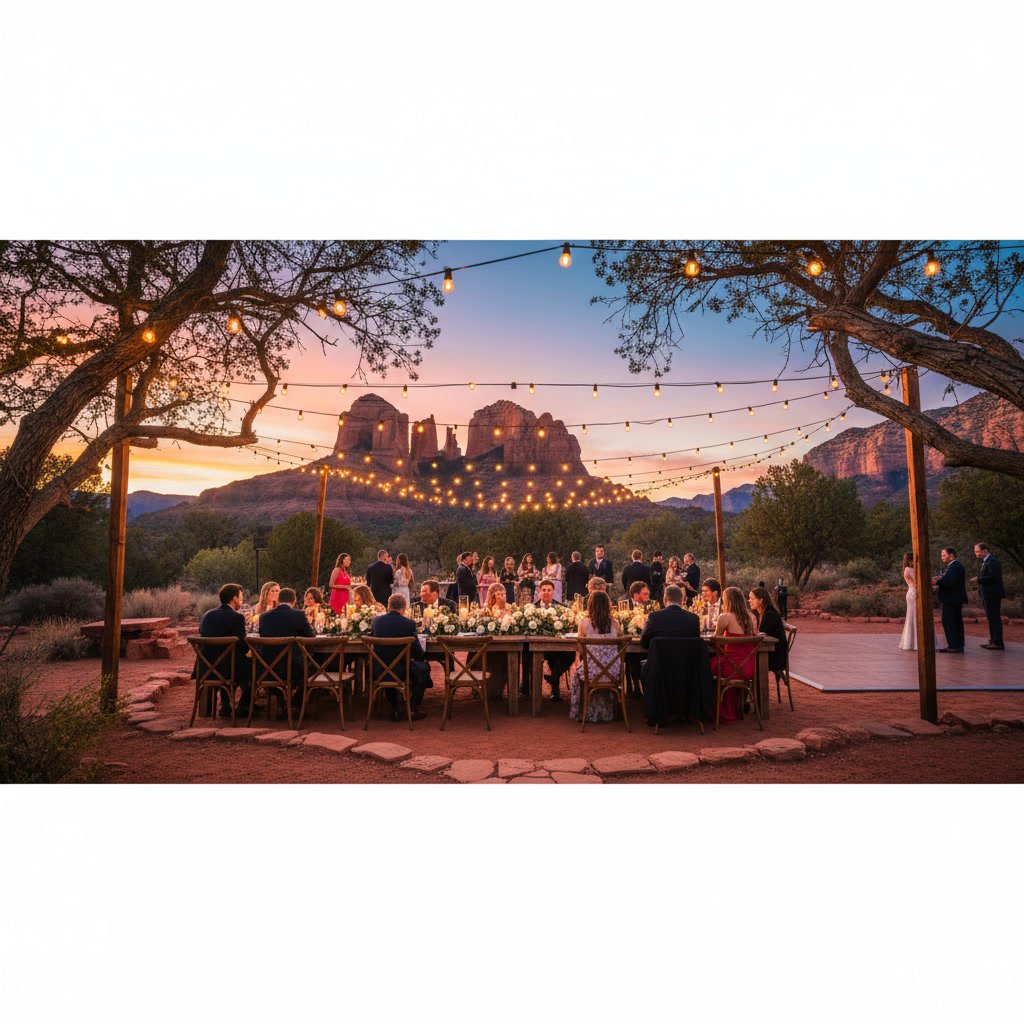
Homeowners prefer downlighting for patios and outdoor kitchens because it creates usable light without the glare that comes from fixtures placed at ground level. When installed in trees, downlighting produces the peaceful effect of moonlight filtering through branches, which is why designers often call this technique “moonlighting.”
For maximum realism, place downlights at least 15 feet high and aim them at a 30 to 45 degree angle. This prevents harsh, directly overhead lighting and creates the gentle dappling effect of natural light through foliage.
Path Lighting for Safety and Navigation
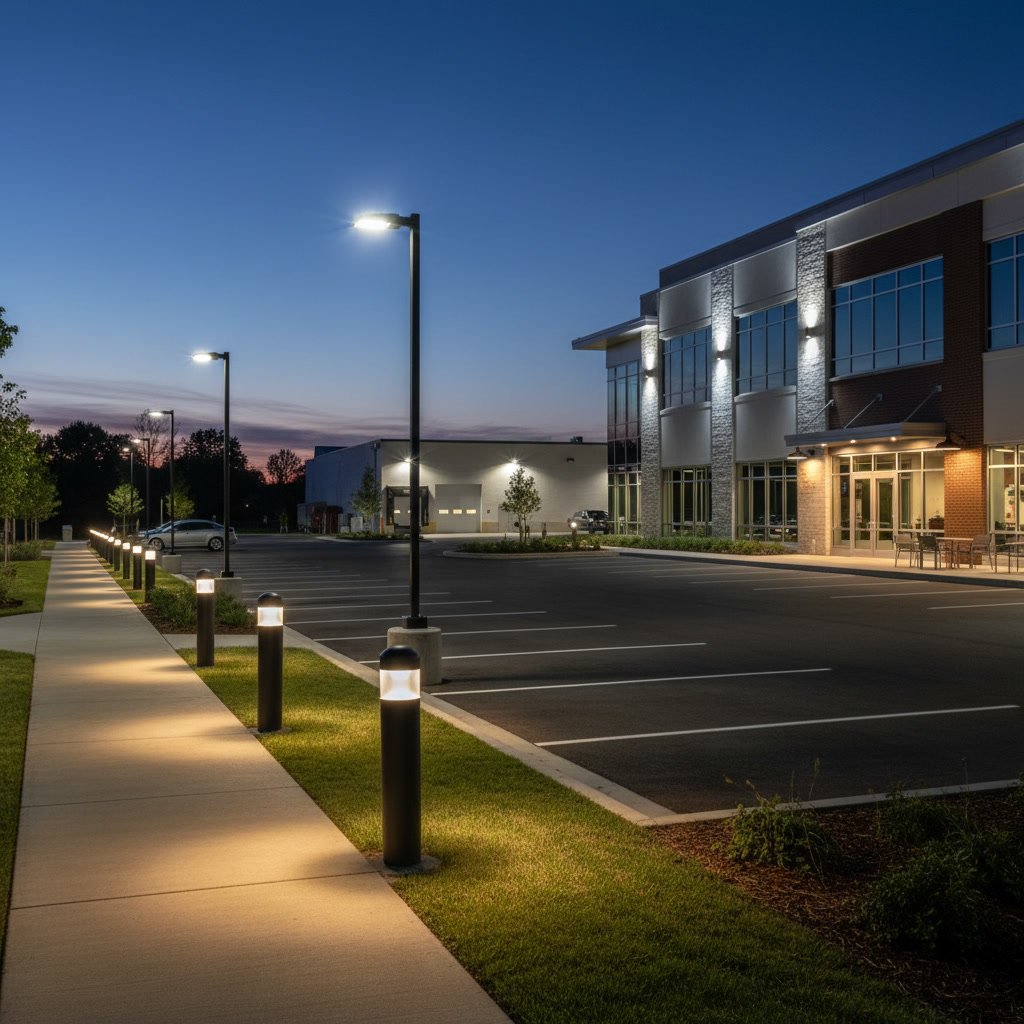
Path lights stand 12 to 24 inches tall along walkways, driveways, and garden borders. Their primary role is functional: marking safe routes through your landscape after dark and preventing trips or missteps on uneven terrain.
Unlike uplights and downlights that create visual interest, path lights should be subtle enough to guide without overwhelming. Spacing them eight to ten feet apart along straight paths provides consistent illumination, while curved walkways may need fixtures placed closer together on the inside of curves to prevent dark gaps.
Modern landscape lighting designs often combine path lights with other techniques rather than relying on them alone. A property might use path lights for safety while adding uplighting to nearby garden beds and downlighting for seating areas, creating a complete lighting ecosystem.
Combining Techniques for Layered Outdoor Lighting in Prescott
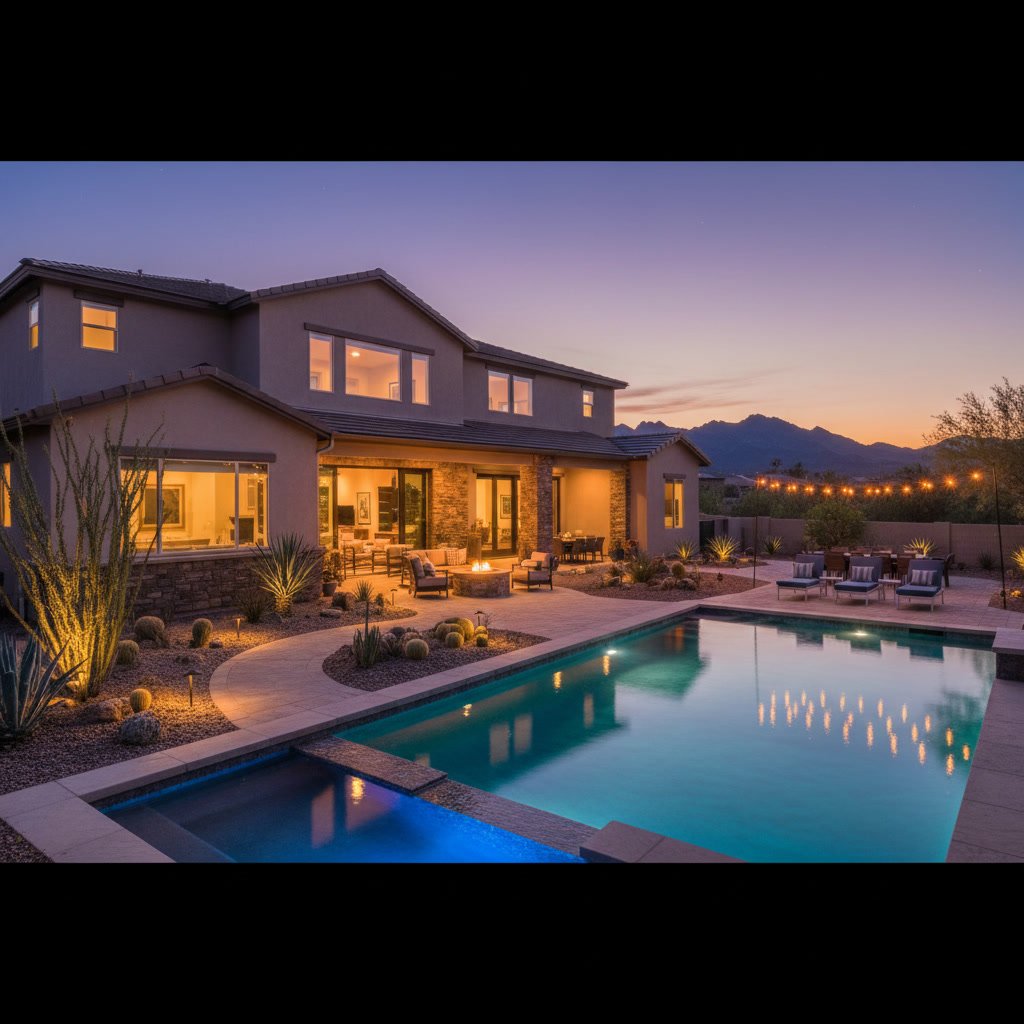
The most effective landscape lighting designs layer multiple techniques to create depth and visual interest. A front yard might feature uplighting on the home’s facade and key trees, downlighting from the eaves to illuminate the entry and porch, and path lights along the walkway from the driveway to the front door.
This layered approach prevents the common mistake of over-relying on one method. Properties lit only with uplights can feel theatrical but lack functional light for movement. Yards using only downlighting may be practical but miss opportunities for dramatic focal points.
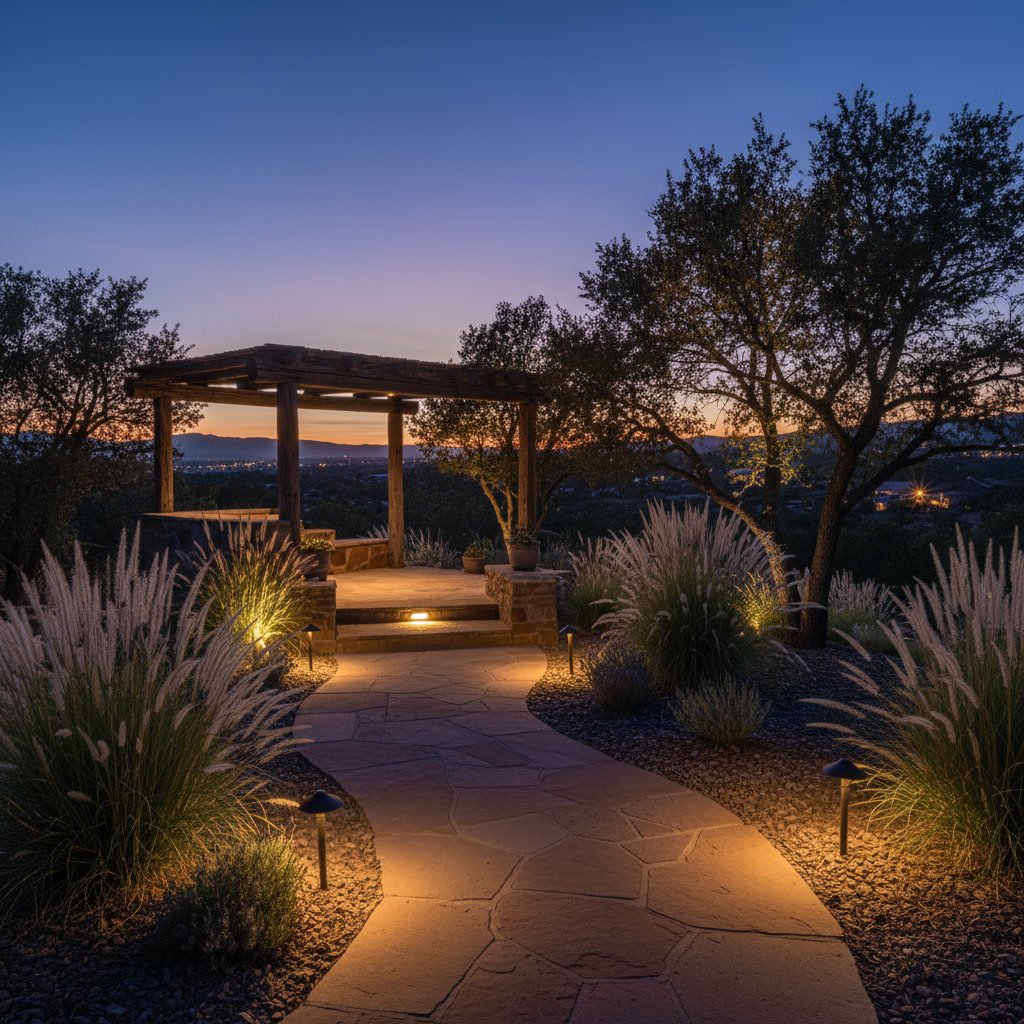
Professional designers in the area consider the natural topography, existing vegetation, and architectural style when selecting which combination works best. Desert landscapes with prominent rock features benefit from grazing uplights that emphasize texture, while properties with large shade trees shine with well-placed downlighting that creates inviting pools of light below.
Choosing the Right Beam Angle and Fixture Type
Beam angle determines how concentrated or spread out your light appears. Narrow spots between 10 and 25 degrees focus attention on small features like address plaques or garden art. Medium floods from 30 to 60 degrees work well for general uplighting on trees and walls. Wide floods above 60 degrees provide broad washes for large surfaces or ambient area lighting.
Fixture style matters as well. Bullet lights offer adjustable aim and work for both uplighting and downlighting. Well lights sit flush with the ground for discreet uplighting near pathways or building foundations. Hanging fixtures mounted in trees provide the best downlighting effect when you want that moonlight appearance.
For long-term installations, choose commercial-grade fixtures made from die-cast aluminum or solid brass. These materials resist corrosion from Arizona’s occasional monsoons and hold up better than plastic housings that crack in extreme heat.
Uplighting vs Downlighting: Which Direction Suits Your Property
The choice between uplighting and downlighting depends on what you want to accomplish in each zone of your landscape. Use uplighting when you want to showcase vertical elements, add drama, or highlight specific architectural or natural features. Choose downlighting when you need functional light for activities, want a softer ambiance, or prefer the natural look of overhead illumination.
Most properties benefit from both. Uplighting handles the visual excitement and curb appeal, while downlighting provides practical light where people gather and move. Adding path lighting completes the system by ensuring safe navigation between these highlighted zones.
A common expert-level strategy is to vary the intensity between these techniques. Set uplights at 75 to 100 percent brightness for maximum impact on focal points, dial downlights to 50 to 70 percent for comfortable ambient light, and keep path lights at 30 to 50 percent so they guide without dominating the overall scene.
Color Temperature and Its Effect on Landscape Lighting
Color temperature, measured in Kelvins, dramatically changes how your landscape appears at night. Warm white light around 2700K to 3000K creates a cozy, inviting feel and complements natural wood tones, desert stone, and traditional architecture. Cool white light from 4000K to 5000K appears crisp and modern, working well with contemporary designs and metal accents.
For a cohesive look, stick with one color temperature throughout your property. Mixing warm and cool whites creates visual confusion and makes your lighting feel disjointed. Most residential landscapes in the Southwest favor warmer tones because they enhance the natural red and tan hues of native stone and desert plantings.
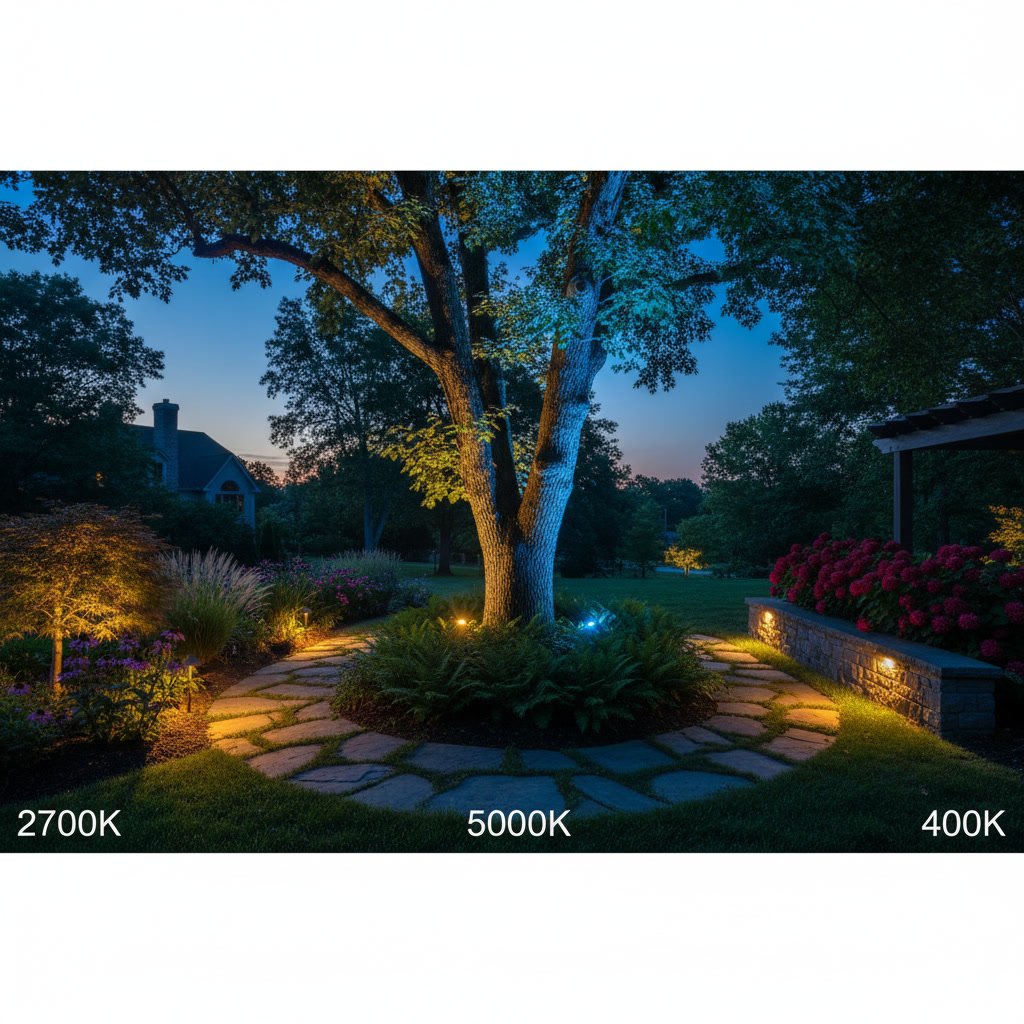
If you want flexibility, consider permanent LED track lighting systems that allow you to adjust both color and intensity from a smartphone app. These systems let you shift from warm everyday lighting to cool white for modern parties or even add color washes for special occasions.
Maintenance Considerations for Different Lighting Angles
Uplights require more frequent maintenance than other types because they sit at ground level where dirt, debris, and irrigation spray accumulate. Check them every three to four months to clear leaves from fixtures and wipe lenses clean. Ground-level placement also makes them more vulnerable to damage from landscaping equipment or foot traffic.
Downlights mounted high in trees or under eaves stay cleaner longer but present access challenges when bulbs need replacing. Choose LED fixtures rated for 50,000 hours or more to minimize the frequency of bulb changes, which can require ladders or lift equipment for high installations.
Path lights fall somewhere in between. They’re easy to access for cleaning but need regular attention to keep lenses clear of dust and spider webs. Opt for fixtures with sealed housings rated IP65 or higher to keep moisture and insects out of the electrical components.
Working with a Professional Lighting Contractor
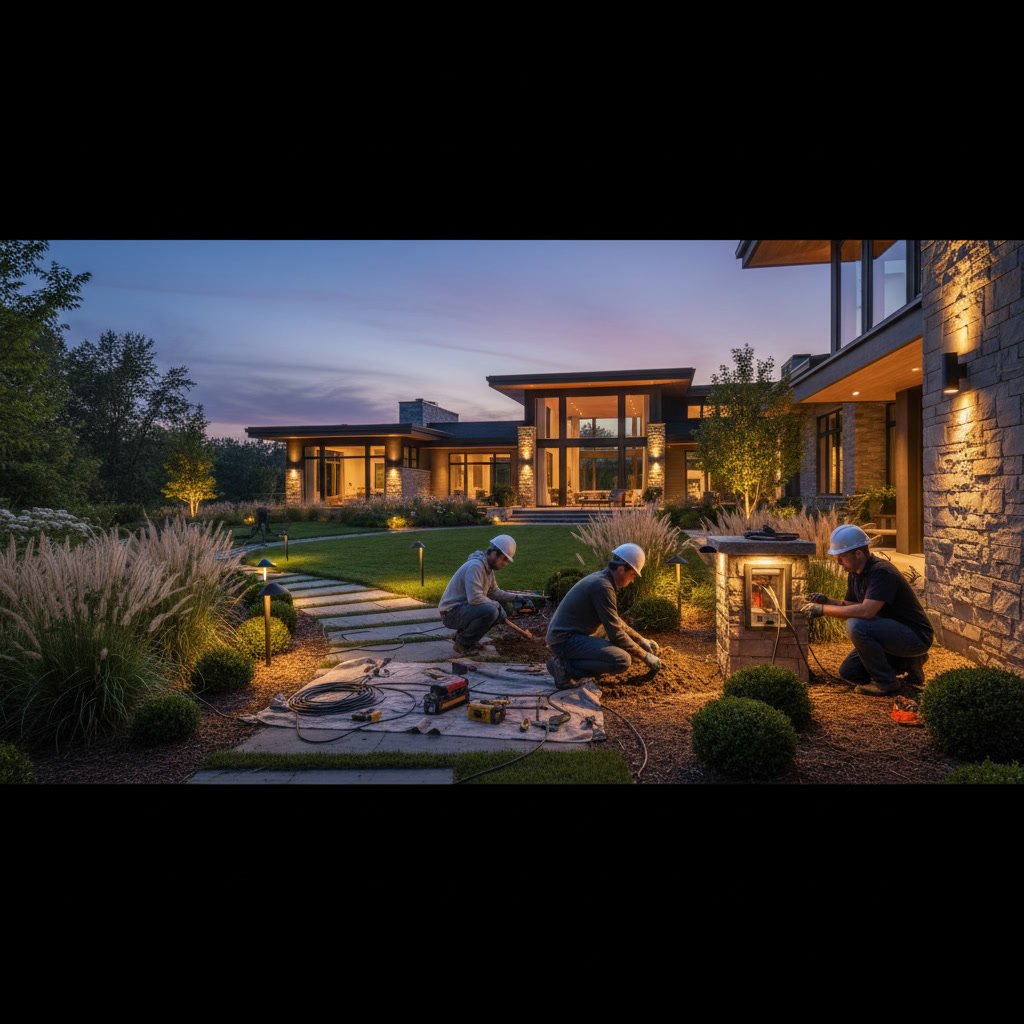
While DIY landscape lighting kits are available at home centers, professional installation delivers better results and longer-lasting systems. Experienced installers understand which techniques work for your specific property conditions, how to calculate proper spacing and angles, and how to hide wiring so your daytime landscape remains attractive.
A qualified lighting contractor will visit your property after dark during the design phase, showing you real-time examples of different fixture placements and lighting angles before finalizing the plan. This process eliminates guesswork and ensures you’re happy with the results before installation begins.
Professional installers also know local electrical codes and best practices for protecting low-voltage wiring from landscape maintenance damage. They’ll use proper burial depth, conduit where necessary, and clearly marked wire paths that prevent future accidents when you or your landscaper dig in planting beds.
Bringing Your Landscape to Life After Dark
The difference between uplighting, downlighting, and path lighting comes down to purpose and effect. Uplighting creates visual drama on vertical features, downlighting provides functional illumination with a natural feel, and path lighting ensures safe navigation. Combining these techniques in thoughtful layers produces a landscape that’s both beautiful and practical after sunset.
Whether you want to highlight a prized tree, illuminate an outdoor dining area, or simply make your front walkway safer at night, choosing the right lighting direction for each zone transforms how your property looks and functions. TRI-CITY Lightning brings years of hands-on experience designing and installing custom outdoor lighting systems that balance aesthetics with real-world performance.
Ready to see how professional landscape lighting can enhance your outdoor space? +19283568919 connects you with our team to schedule a nighttime consultation and discuss which combination of uplighting, downlighting, and path lighting will work best for your property.