
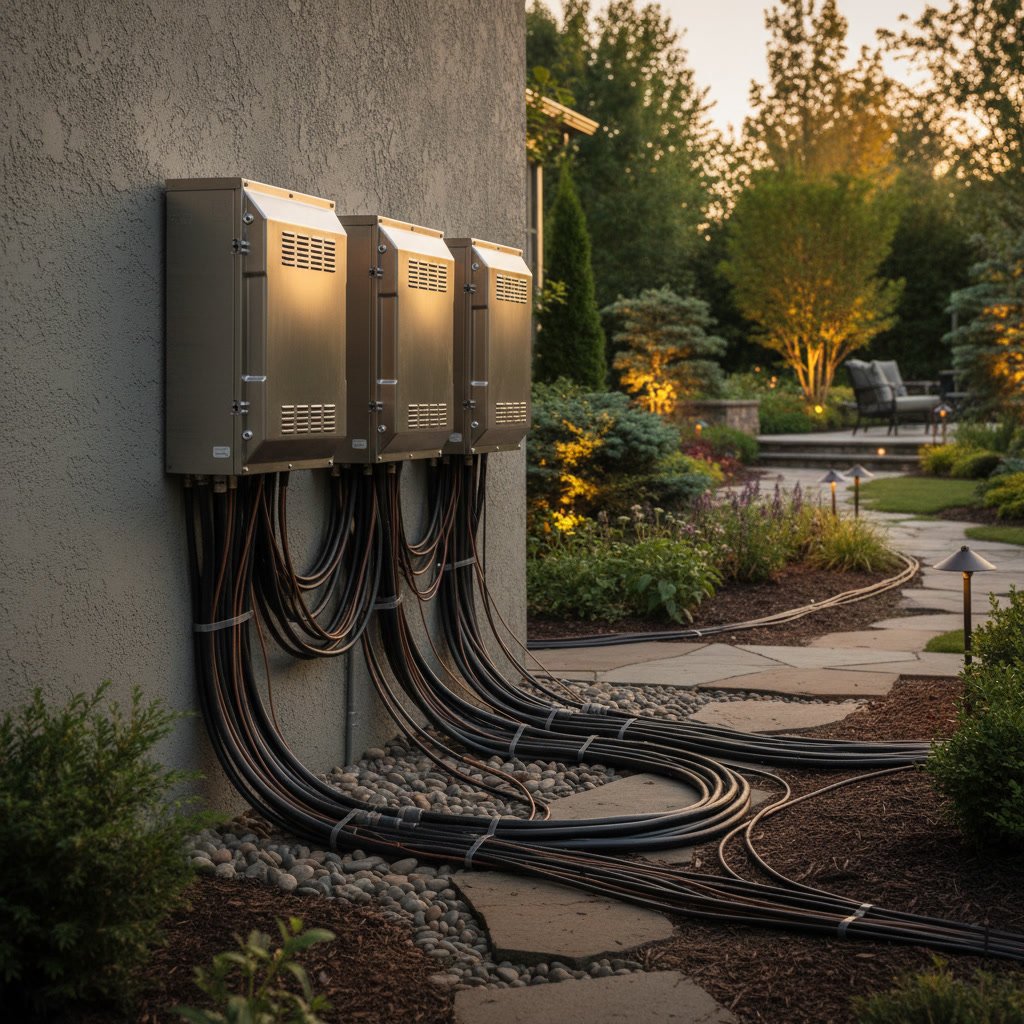
Landscape lighting transformers are the heart of any outdoor lighting system, stepping down household voltage to safe, low-voltage power that runs through wiring buried across your yard. Understanding how transformers size, wiring gauge, and cable runs work together ensures your lights shine brightly and reliably for years. This guide explains the technical fundamentals so you know exactly what powers your outdoor lighting and why professional installation matters.
Why Outdoor Lighting Systems Need Transformers
Standard household electrical outlets deliver 120 volts, far too much for most outdoor lighting fixtures. Most landscape lighting systems operate on 12 or 24 volts, making them safer to handle and reducing the risk of shock during installation or maintenance. A transformer sits between your home’s electrical system and your outdoor lights, converting high voltage into low voltage that fixtures can safely use.
The transformer also acts as a central control point. Quality units include timers, photocells, and dimming features that let you automate when lights turn on, how bright they shine, and how long they stay active. Without a properly sized transformer, your system may flicker, fail to illuminate all fixtures, or wear out prematurely.
How Transformers Convert and Regulate Power
Inside every transformer, copper coils wrapped around an iron core step down voltage through electromagnetic induction. When 120-volt current flows into the primary coil, it creates a magnetic field that induces a lower voltage in the secondary coil. The ratio of coil windings determines the output voltage, typically 12 or 24 volts for residential outdoor lighting.
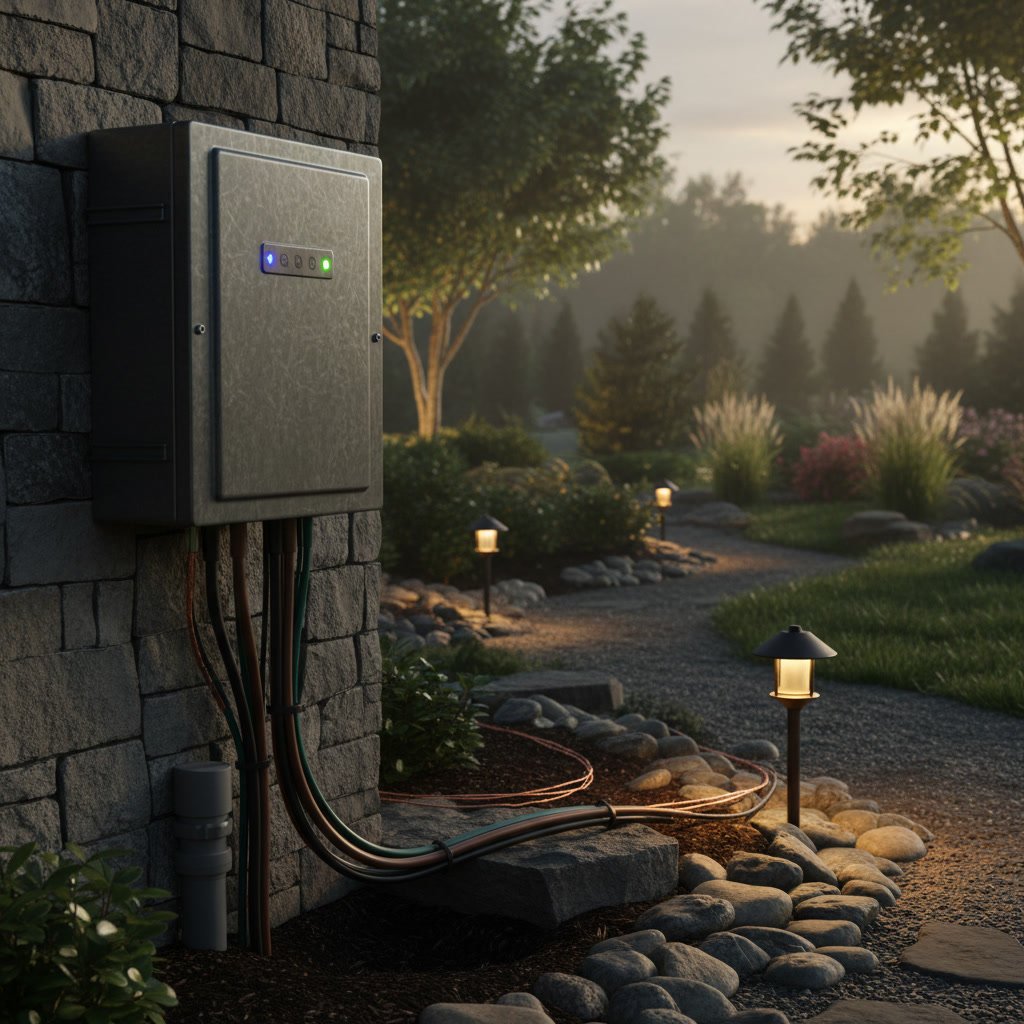
Modern transformers also regulate amperage, the measure of electrical current flowing through the system. A 300-watt transformer on a 12-volt system can safely deliver up to 25 amps. Exceed that capacity and the transformer overheats, trips its internal breaker, or causes voltage drop that dims your lights. Professional installers calculate total wattage across all fixtures to select the right transformer capacity, leaving a 20 percent safety margin for efficiency and longevity.
Choosing the Right Transformer Size for Your System
Transformer capacity ranges from 150 watts for small residential setups to 1,200 watts or more for extensive commercial installations. To size a transformer correctly, add up the wattage of every fixture on the system. If you plan to light 20 fixtures at 4 watts each, that totals 80 watts. Select a transformer rated for at least 100 watts to provide headroom and prevent overload.
Many homeowners underestimate future expansion. You might install eight lights today but want to add spotlights or path lighting next year. Choosing a slightly larger transformer upfront, such as 300 watts instead of 150, saves the cost and hassle of replacing the unit later. TRI-CITY Lightning evaluates your property layout and lighting goals to recommend transformers that accommodate both current needs and future growth.
Understanding Wire Gauge and Voltage Drop
Wire gauge determines how much electrical current can flow without resistance causing voltage drop. In low-voltage systems, thicker wire, indicated by a lower gauge number, carries more current over longer distances. Common gauges for outdoor lighting include 12 AWG and 10 AWG, with 10 AWG thicker and better suited for runs exceeding 100 feet.
Voltage drop occurs when resistance in the wiring reduces the voltage reaching distant fixtures. If a transformer outputs 12 volts but the wire run is too long or too thin, fixtures at the end may receive only 10 or 11 volts, causing them to dim or flicker. Professional installers measure cable runs and calculate voltage drop to ensure every fixture receives adequate power, often using heavier gauge wire or multiple output taps on the transformer.
How Wiring Runs Are Configured in Outdoor Systems
Most landscape lighting systems use one of three wiring configurations: daisy chain, T-method, or hub method. In a daisy chain, one main cable runs from the transformer with fixtures tapped along the line. This works well for short runs but can cause significant voltage drop at the far end. The T-method splits the main cable into branches, balancing the electrical load and reducing voltage drop across multiple zones.
The hub method, often considered the most reliable, runs individual home-run cables from the transformer to each fixture or small group of fixtures. This approach minimizes voltage drop and allows independent control of each zone, ideal for properties that require separate timing or dimming for different areas. When planning a professional landscape lighting installation, the wiring configuration directly impacts system performance and flexibility.
Cable Burial Depth and Protection Standards in Prescott
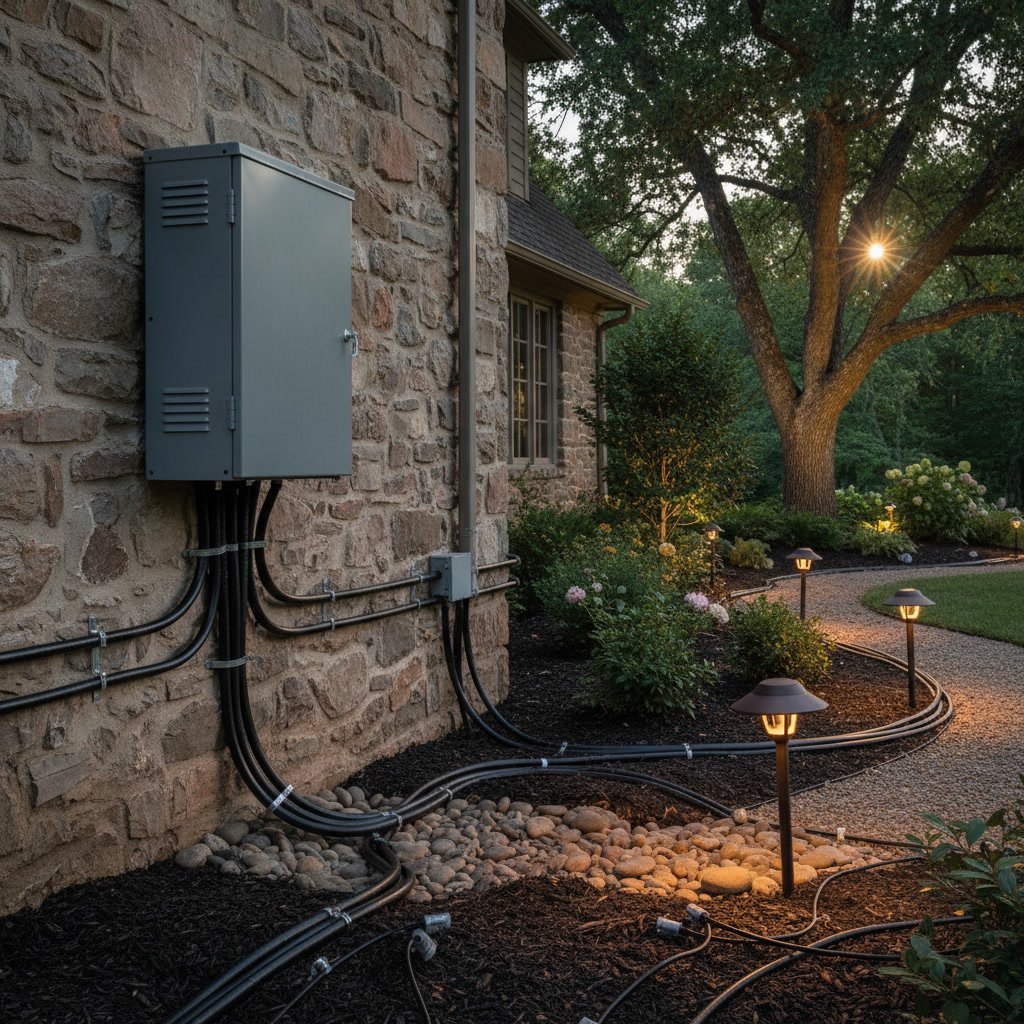
Local electrical codes typically require low-voltage landscape lighting wire to be buried at least six inches underground, though some jurisdictions mandate 12 inches for added protection. Burying cable too shallow risks damage from lawn aeration, digging, or frost heave in colder months. In Prescott and surrounding areas, installers account for rocky soil conditions and seasonal weather shifts that can stress buried wiring.
Direct-burial-rated cable features a thicker insulation jacket designed to withstand moisture, temperature swings, and soil contact over decades. Never use standard indoor wire outdoors, as it degrades quickly when exposed to the elements. Professional installers also use conduit in high-traffic areas or where cable crosses driveways, providing an extra layer of protection against mechanical damage.
Multiple Transformer Zones and Load Balancing
Large properties often require more than one transformer to distribute power efficiently. Dividing the system into zones, each powered by its own transformer, prevents overload and allows independent control. For example, front yard lighting might operate on one transformer with a dusk-to-dawn schedule, while backyard party lighting runs on a separate transformer with manual or timed control.
Load balancing across multiple transformers also reduces voltage drop. Instead of running a single 600-watt transformer at full capacity, splitting the load between two 300-watt units shortens cable runs and improves voltage stability. This approach is common in commercial projects where dozens of fixtures span large areas, and any dimming or inconsistency affects curb appeal and safety.
Common Transformer and Wiring Issues to Avoid
Undersized transformers are the most frequent cause of premature system failure. When a transformer runs at or above its rated capacity, internal components overheat, shortening lifespan and risking shutdowns during peak use. Similarly, using undersized wire gauge on long runs guarantees voltage drop, dim fixtures, and inconsistent illumination that frustrates homeowners.
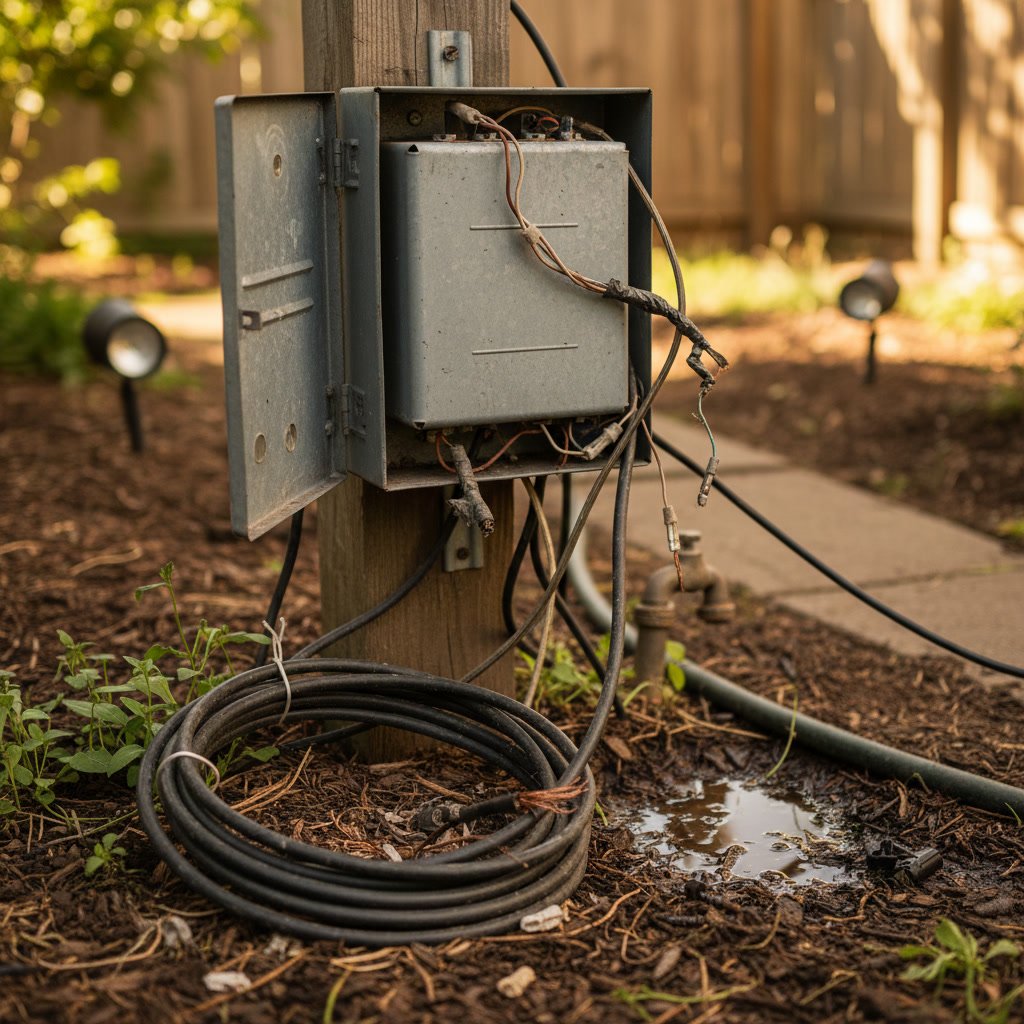
Another mistake is neglecting waterproofing at wire connections. Even low-voltage systems suffer corrosion when moisture infiltrates splice points. Silicone-filled wire connectors or heat-shrink tubing keep connections dry and conductive for years. Loose connections also create resistance hotspots that waste power and cause intermittent operation, especially as temperature fluctuates throughout the day and night.
Smart Features and Timer Integration
Modern transformers integrate timers, photocells, and smart home connectivity. Timers automate on-off schedules, reducing energy waste and ensuring lights activate consistently every evening. Photocells detect ambient light levels, triggering the system at dusk and shutting it off at dawn without manual intervention.
Smart transformers connect to Wi-Fi or Bluetooth, letting you control lighting from a smartphone app. Adjust brightness, create custom schedules, or enable vacation modes that simulate occupancy. Some models integrate with voice assistants and home automation platforms, coordinating outdoor lighting with outdoor audio systems for seamless entertainment setups. These features add convenience and energy efficiency without complicating the electrical backbone that delivers power.
Why Professional Installation Ensures Long-Term Reliability
Installing a low-voltage lighting system might seem straightforward, but miscalculations in transformer sizing, wire gauge selection, or cable routing lead to costly repairs and lackluster performance. Professional installers bring technical expertise and specialized tools to measure voltage drop, balance loads, and secure connections that withstand Arizona’s intense sun and occasional monsoon rains.
Experienced teams also understand local soil conditions, code requirements, and best practices for concealing wiring without sacrificing accessibility for maintenance. They test the entire system under load before final sign-off, ensuring every fixture receives proper voltage and the transformer operates within safe parameters. This attention to detail prevents the flickering, dimming, and premature failures that plague DIY installations.
Powering Beautiful Outdoor Spaces with Confidence
Understanding how transformers and wiring work together gives you the knowledge to ask the right questions and make informed decisions about your outdoor lighting project. Properly sized transformers, correct wire gauge, and thoughtful wiring configurations ensure your commercial lighting or residential landscape system delivers consistent, beautiful illumination for decades. The technical foundation may be hidden underground, but its impact shines every night.
TRI-CITY Lightning brings years of hands-on experience designing and installing outdoor lighting systems across Prescott and surrounding communities. Whether you need a simple path lighting setup or a comprehensive multi-zone installation, the team ensures every transformer, wire, and connection meets commercial-grade standards. Reach out at +19283568919 to discuss your project and discover how expertly engineered power distribution transforms outdoor spaces into illuminated showcases.